
Images to PDF: DPI, page size and the 2 MB email limit
An image has no DPI until you place it on a page. The one formula that predicts whether your photos will look sharp when printed, how page size and fit change the answer, and how to hit an attachment limit without guessing.
Turning photos into a PDF looks like the simplest operation on the site: pick the images, pick a page size, press the button. The thing that goes wrong is quieter than an error message. The result opens fine, looks fine on screen, and prints at 90 DPI because the images were phone screenshots, or because “fit to page” stretched a 600-pixel-wide picture across 210 mm. One formula prevents the whole class of problem.
An image has no DPI until you place it
A JPEG on disk is a grid of pixels and nothing else. The DPI stored in its metadata is a printing hint that most software ignores. What decides sharpness is the number of pixels per inch of paper when the image has been placed and scaled:
| Image width | Across 210 mm (A4) | At 100 mm |
|---|---|---|
| 800 px | 97 DPI — soft | 203 DPI |
| 1200 px | 145 DPI — acceptable on screen | 305 DPI |
| 2000 px | 242 DPI — fine for photos | 508 DPI |
| 3000 px | 363 DPI — more than print needs | 762 DPI |
| 4000 px (phone camera) | 484 DPI — wasteful | 1016 DPI |
300 DPI is the print industry's target for photographs. Above roughly 400 DPI you are storing pixels the press cannot use, which is where “my PDF is 40 MB of holiday photos” comes from.
What the tool does to your files
It does not resample, resize or re-compress your images. PNG and JPEG bytes are embedded exactly as they are, so a 12 MB photo stays a 12 MB photo inside the PDF and the file size is close to the sum of the inputs plus a small overhead. WebP is the one exception: the library cannot embed WebP directly, so those images are converted to PNG first, which usually makes them larger than the WebP you started with.
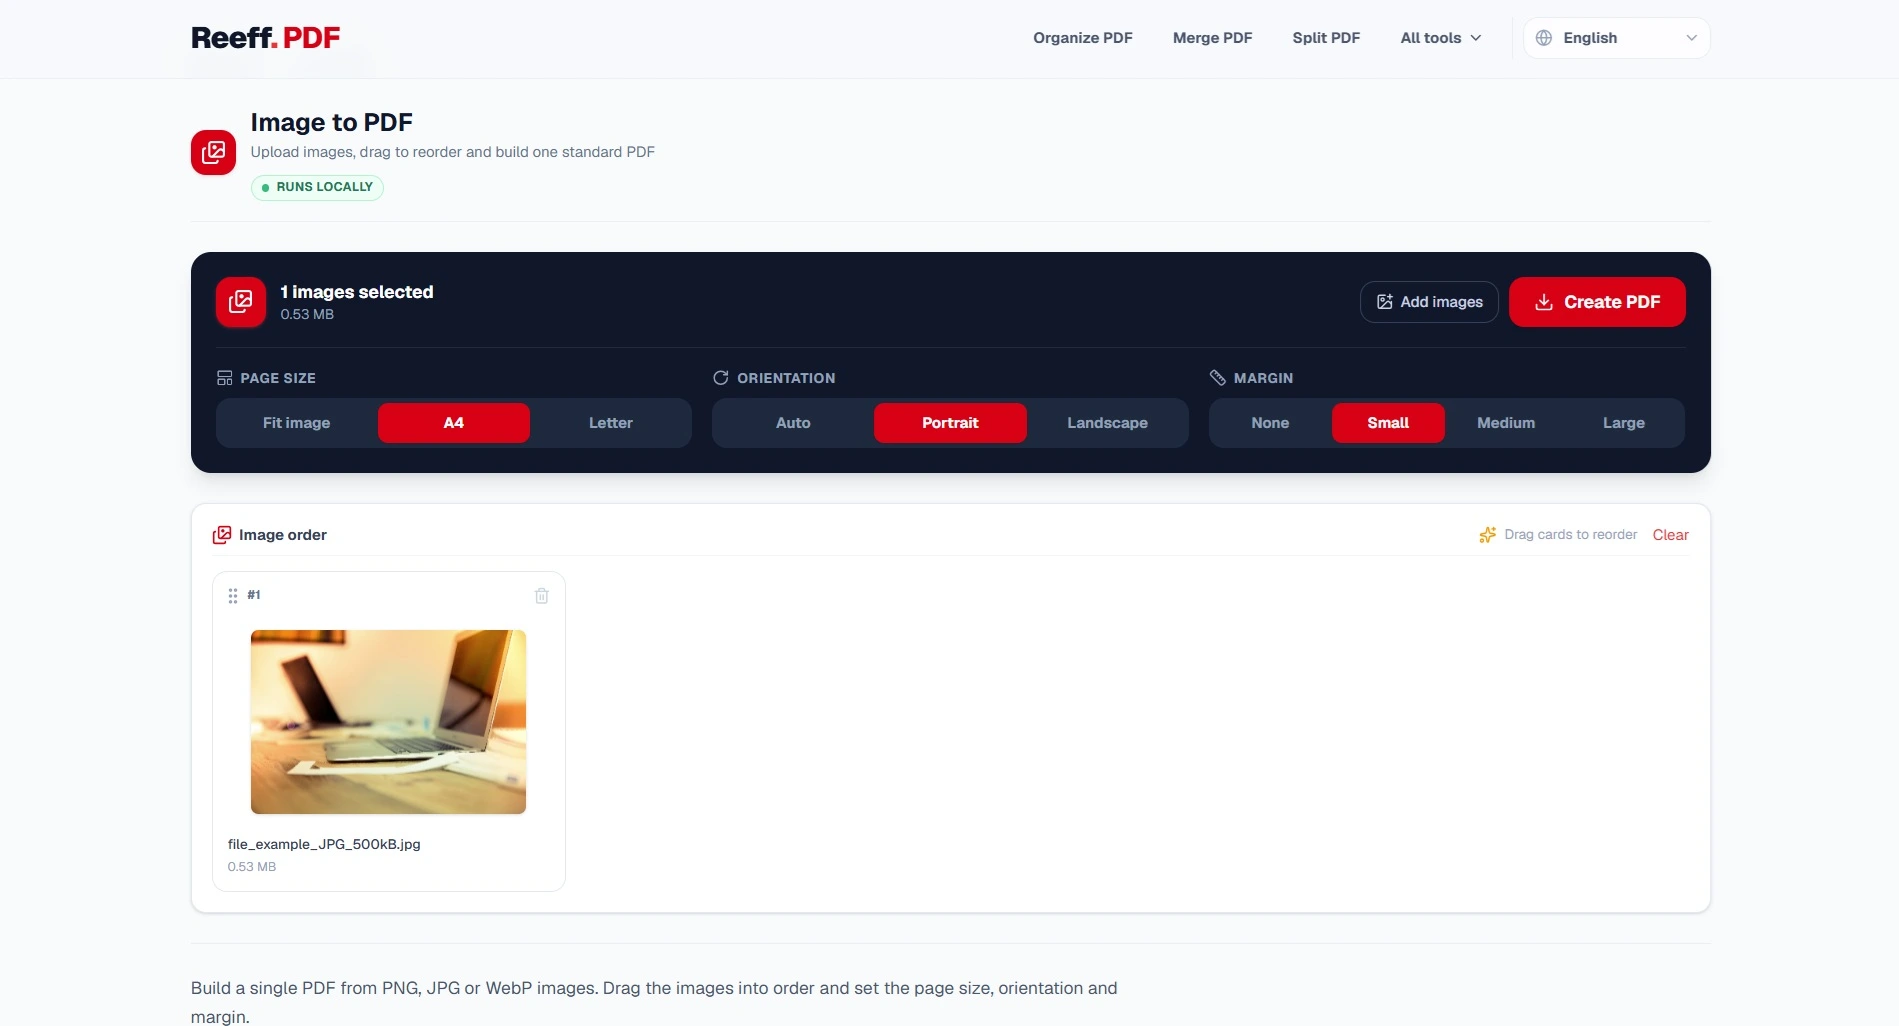
- Page size: “fit” makes each page exactly the size of its image (with the longest edge capped at A4's long edge, so a huge image does not create an enormous page), A4 and Letter put the image on a fixed sheet.
- Orientation: auto turns the page to match each image, which is what you want for a folder of mixed portrait and landscape photos.
- Margin: the white border in points, 1 pt = 1/72 inch. 28 pt ≈ 10 mm, which is a normal document margin.
Hitting an attachment limit without guessing
The PDF will weigh about as much as your images, because nothing is re-compressed: 20 photos of 3 MB give a 60 MB PDF. Gmail refuses attachments over 25 MB; Outlook's default limit is 20 MB; most web forms cap at 5–10 MB. If you are over, the lever is the images themselves, not this tool — there is no “compress” setting here, and adding one that silently degraded your photos would be worse than telling you the number.
| What to do | Effect on the PDF |
|---|---|
| Resize the images before adding them (2000 px on the long edge is enough for A4 at print quality) | Usually the single biggest saving, and lossless for anything you view on screen |
| Convert photos to greyscale when colour carries no information | Roughly a third of the bytes for a JPEG |
| Send fewer pages: split the document and send part one now | Linear — half the pages, half the size |
| Re-save a JPEG at quality 80 with an image editor | Meaningful, but it is a re-encode: do it once, not twice |
| Add the images and hope the tool shrinks them | It will not. Nothing here re-encodes |
The order of operations
01Normalise the files first
The tool accepts PNG, JPEG and WebP. An iPhone saves HEIC by default, which is not in that list — convert to JPEG before you start, or the upload will simply not accept the file.
02Decide the page size from the destination
A PDF that will only be read on a phone: “fit” is fine and gives the largest image per page. A PDF that will be printed or filed with other documents: A4 or Letter, so it stacks with everything else.
03Sort in the tool, not in the folder
Pages come out in the order of the queue. Drag the thumbnails into the right order before exporting; renaming twenty files to force an order is slower and easier to get wrong.
04Check the first and last page of the result
Twenty-page documents are almost never wrong in the middle — they are wrong at the ends, where a photo was missed or added twice.
Mistakes that come back as complaints
- Screenshots of text. A 96 DPI screenshot of a paragraph placed on A4 prints at about 110 DPI: readable on screen, fuzzy on paper, and it cannot be searched because those pixels are a picture of letters.
- Mixed orientations with a fixed page size. Ten portrait photos and one landscape photo on A4 pages leave the landscape one small, centred in a sea of white — use “fit”, or auto orientation.
- A margin added on top of the photo's own white border, which makes a double frame and shrinks the content.
- WebP input. It works, but the tool converts it to PNG to embed it, so a 200 KB WebP can become a 1.5 MB page inside the PDF.
Check the result in three steps
- Count the pages against the number of images you added. A missing page here is always an image the tool could not decode.
- Zoom to 100 % on the largest image. If it looks soft at print size, no later step will fix it — go back to the source file and resize down from a larger original.
- Check the file size before you attach it, not after the email bounces.
The formula, the page size and the queue order decide everything that happens in this tool. Once you know your image's pixel width and the width of paper it will occupy, the result is arithmetic — and a PDF built from correctly sized images is smaller, sharper and faster to make than any amount of post-processing.