
PDF to image: how much DPI you actually need, and which format to pick
A PDF page is resolution-free until you turn it into pixels. What 72, 150 and 300 DPI mean in pixels for A4, why a text page should be PNG and a photo should be JPEG, and when WebP saves you a third of the bytes.
Converting a page to an image is the one operation where you have to choose a number that will be wrong in one direction or the other: too low and the text is mush, too high and you are shipping a 12 MB PNG of a page nobody will zoom into. The choice has three parts — resolution, format and how many pages — and all three can be decided from the destination rather than from taste.
Resolution: decide from where the image goes
PDF's own unit is 72 points per inch, so 72 DPI means “one pixel per point” — literally the page coordinates turned into pixels. Everything above that is a multiple: 144 DPI renders at 2×, 288 DPI at 4×, and the pixel count grows with the square of the factor.
| DPI | A4 in pixels | Good for |
|---|---|---|
| 72 | 595 × 842 | A thumbnail, or checking layout without detail |
| 96 | 794 × 1123 | Slides and web previews — matches a typical screen's pixel density |
| 150 | 1240 × 1754 | Reading on screen at 100 %, small prints, “high quality” meeting handouts |
| 200 | 1654 × 2339 | Most office laser printing without a visible loss |
| 300 | 2480 × 3508 | Commercial print, archival copies, anything a client may enlarge |
For a slide deck or a chat message, 150 DPI is the practical ceiling: a 4K screen is 3840 pixels wide, so a 300 DPI A4 page shown full-screen is still being downscaled to a third of its pixels. For anything that will be printed or examined, 300 DPI is the target, and going beyond it only matters if the source page contains line art rather than text.
Format: PNG, JPEG or WebP
| Format | How it stores data | Pick it when |
|---|---|---|
| PNG | Lossless, every pixel exact | The page is text, a screenshot, a chart or a signature. Sharp edges stay sharp, and the file is bigger than JPEG. |
| JPEG | Lossy, adjustable quality | The page is a photo or a scan. Much smaller, and the artefacts hide in photographic detail instead of around letters. |
| WebP | Lossy (or lossless) with better compression than JPEG | The image goes on a website and you want a smaller file. Support is now broad, but older desktop software may refuse it. |
The mistake that produces ugly results is converting a text page to JPEG at a low quality: JPEG breaks the page into 8 × 8 blocks, and black text on white is exactly the pattern those blocks handle worst. You get grey halos around every letter and a file that is barely smaller than the PNG. Text wants PNG; photographs want JPEG.
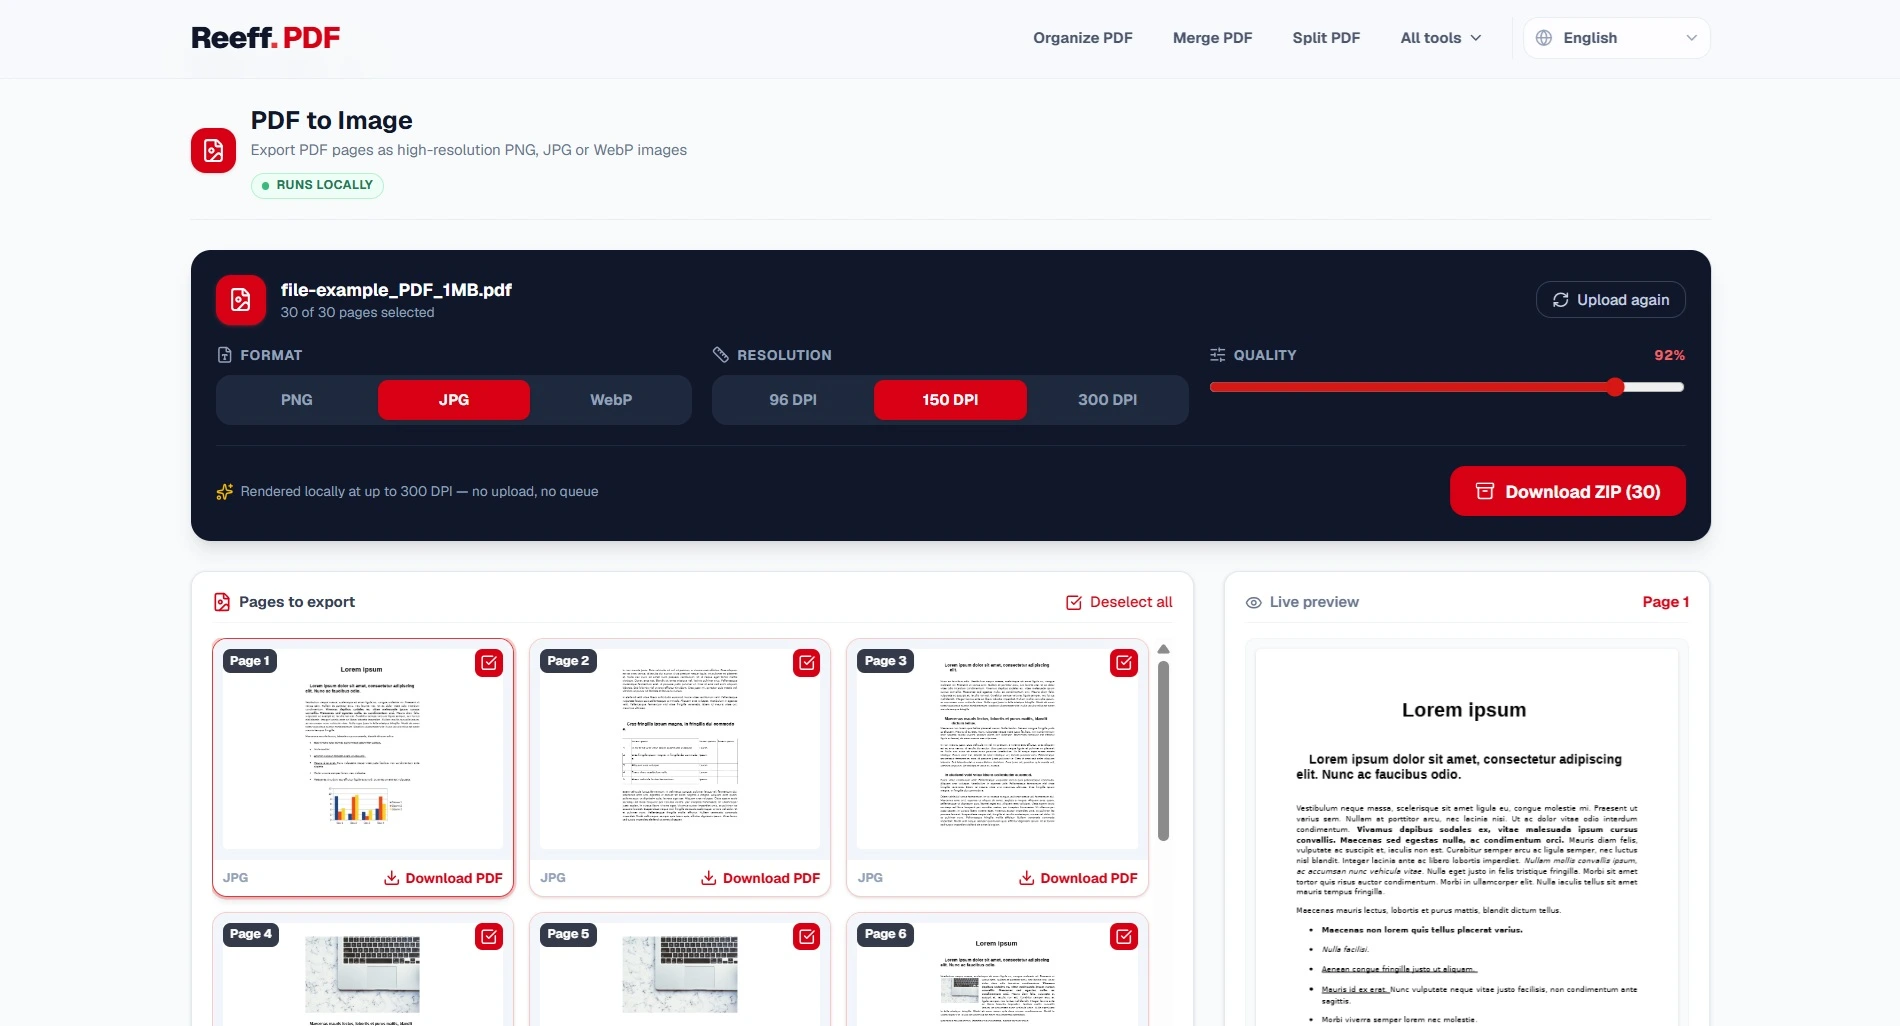
One page or the whole document
Rendering happens one page at a time, so the page count does not raise the peak memory the way it does when a document is loaded whole — but it does multiply the output. A 300-page manual at 150 DPI as PNG is roughly 300 files and, for a text-heavy page, somewhere in the region of 200 KB to 1 MB each: a few hundred megabytes in one download. That is why the whole-document case arrives as a ZIP rather than as 300 separate downloads.
- Need one page for a slide? Render that page only, at 150 DPI.
- Need every page for an archive? Take the ZIP at 300 DPI and store it; do not re-render later when the original may be gone.
- Need a quick look at a 400-page file? 72 DPI and only the pages you care about.
Converting a scan does not add resolution
If the page is a scan that was made at 200 DPI, rendering it at 300 DPI produces a bigger image with exactly the same amount of detail — the renderer interpolates, it cannot invent the pixels the scanner never captured. You get a 40 % larger file and no sharper edges. The useful ceiling for a scanned page is the resolution it was scanned at; for a born-digital page there is no such ceiling, because the text and vectors can be rendered at any resolution.
How to tell which you have: zoom in on the page in a viewer. If the letters break into visible square pixels at 400 %, it is a scan and its resolution is fixed. If the letters stay smooth at any zoom, it is text and the renderer will produce genuine detail at 300 DPI.
Steps
01Pick the format from the content
Text, charts, screenshots and signatures: PNG. Photographs and scanned pages: JPEG at quality 0.8 or above. Website delivery where you control the server: WebP.
02Pick the DPI from the destination
Screen at 150, print at 300, thumbnail at 72. When in doubt, 150 is the number that almost never disappoints and rarely bloats the file.
03Export the pages you need
A single page if that is the job; the ZIP if you need all of them. Rendering 300 pages to find out you needed one is a minute of your machine's time you do not get back.
04Check the first image before using the rest
Open it at 100 %. If the edges of the text are ragged or the whites are grey, the format or the quality was wrong, and the other 299 pages have the same problem.
Check the result
- Check the pixel dimensions against the DPI you asked for: A4 at 150 DPI must be 1240 × 1754, and if it is not, the page size in the PDF is not A4.
- Zoom to 100 % on the smallest text. This is the only test that matters for a text page.
- Check one page from the middle of the document if you exported all of them — first and last pages are the ones the renderer is most likely to have got right.
Two settings and a destination: that is the whole decision. The number that makes an image useless is a low DPI on a text page, and the number that makes it annoying is a high DPI nobody asked for — everything between those is a judgement you can now make with arithmetic instead of taste.