
A print-ready PDF checklist you can actually run before sending the file
Most files are rejected by a printer for five reasons, and every one of them is visible on screen. Page size, bleed, resolution, fonts and margins — plus why cropping a PDF is not the same as resizing it.
“Can you send it print-ready?” is the point where a design job turns into an argument, because the phrase hides a specification. In practice, five things decide whether a print shop accepts a PDF without a phone call: the page size, the bleed, the image resolution, the fonts, and whether anything important sits inside the area the press cannot reach. All five can be checked on screen, in a few minutes, before the file leaves your machine.
The five reasons a file comes back
- Wrong page size. The document is A4 and the job is on 210 × 280 mm stock, or the order is 8 pages on a sheet and the PDF is 9.
- No bleed. The background colour stops exactly at the trim line, so a 0.5 mm cutting tolerance leaves a white hairline on every edge.
- Resolution too low. A logo pasted from a website is 96 DPI; at 300 DPI print size it becomes visibly soft on a 1200 DPI press.
- Fonts not embedded, or substituted. The PDF says “uses Helvetica” and the shop's machine does not have your version of it, so the spacing quietly changes.
- Content inside the non-printable margin. A footer 2 mm from the edge of the sheet lands in the gripper area and gets clipped.
Crop marks, colour space and transparency flattening are the things a professional prepress operator checks next, and they matter — but they only become relevant once those five are right. A file with 96 DPI images cannot be rescued by adding crop marks.
Cropping is not resizing
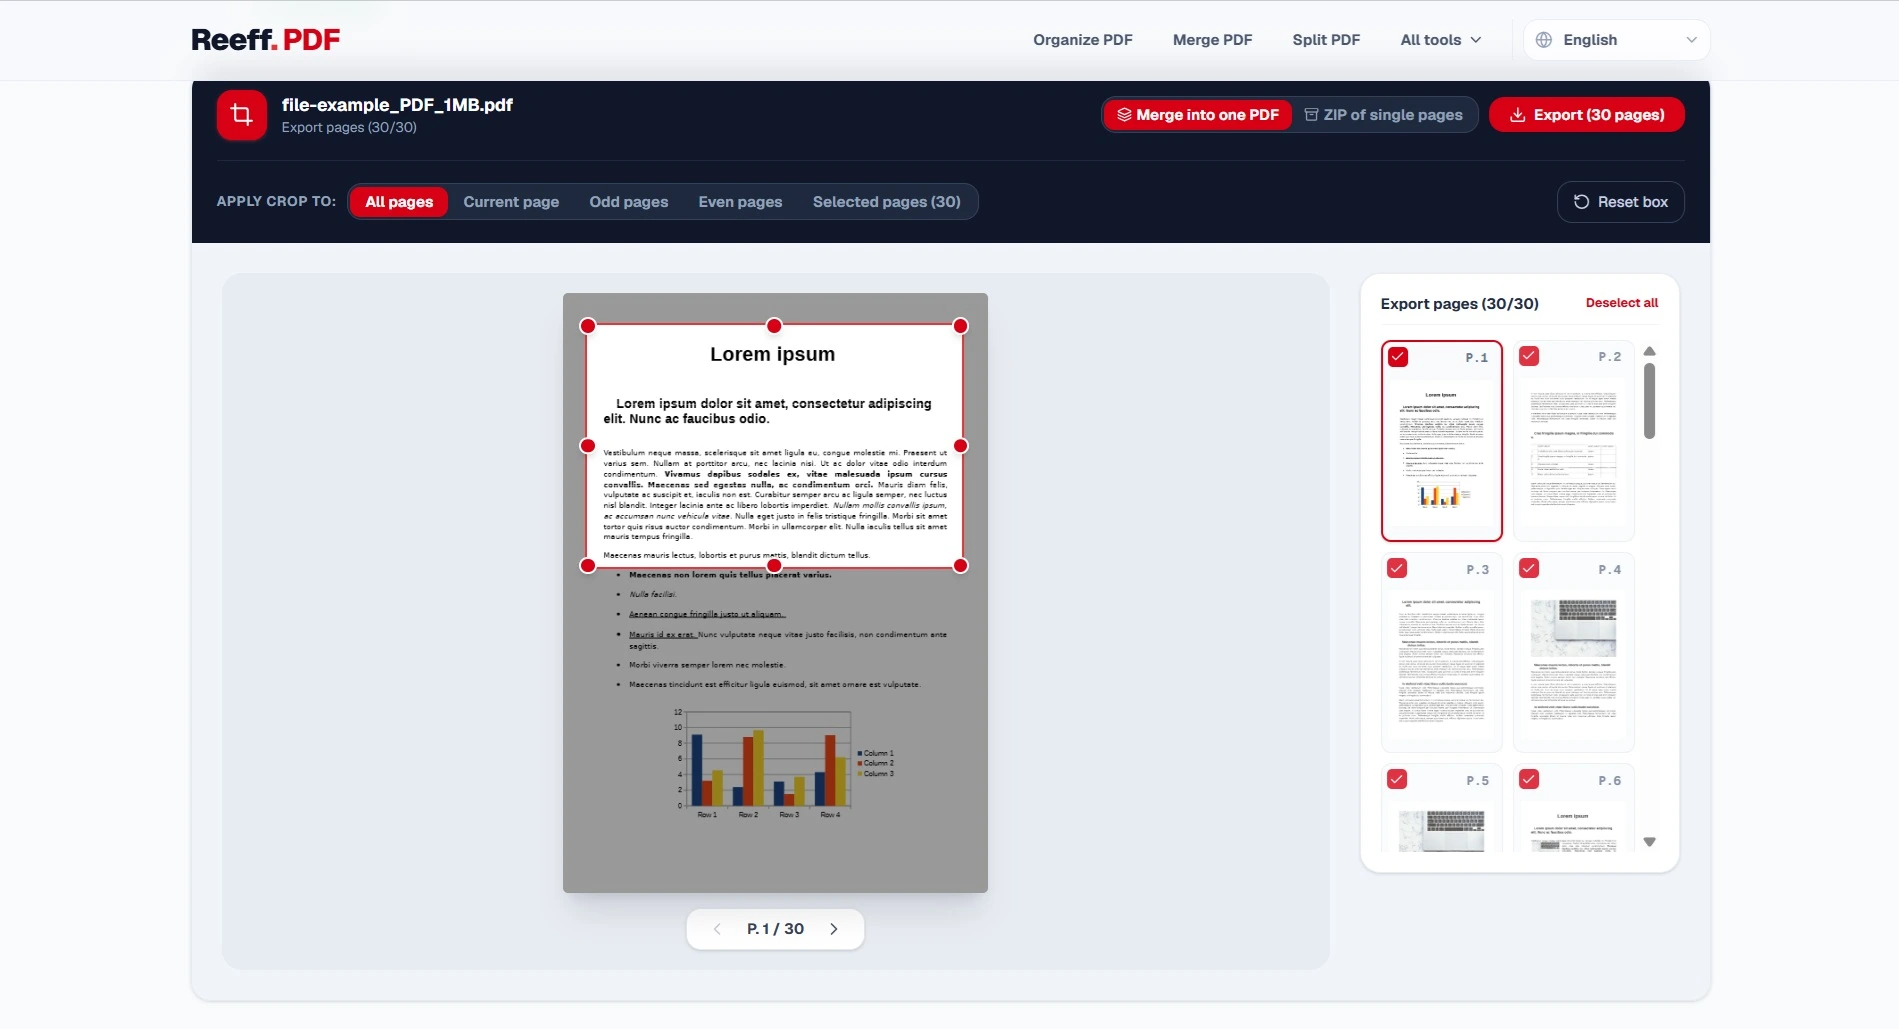
This is the most misunderstood operation in the whole format. A PDF page has a MediaBox — the full physical sheet — and an optional CropBox, which is the rectangle the viewer and the printer are told to show. Cropping in a PDF tool usually does exactly one thing: it writes a smaller CropBox. No pixel is resampled, no content is deleted, and the file size stays roughly the same.
| After cropping a page | |
|---|---|
| What the reader sees | Only the area inside the new CropBox. |
| What the file still contains | Every page, every object, every pixel of the original MediaBox area. |
| Physical page size after printing | The new CropBox — so the crop does change the printed size, but not the resolution. |
| File size | Almost unchanged. Nothing was re-encoded, so nothing was removed. |
| Resolution of the remaining content | Unchanged. Cropping 20 % of a page does not make the rest sharper. |
Resolution: what the press actually needs
The printer will ask for “300 DPI images”, which is shorthand for: at the size the image is placed on the page, it should provide about 300 pixels per inch. A 2000-pixel-wide photo placed across a 210 mm page is 2000 ÷ 8.27 inches ≈ 242 DPI — acceptable. The same photo placed across a 420 mm spread is 121 DPI — visible. What matters is never the image's native size in pixels, it is pixels divided by the inches it occupies.
| Content | Target resolution at print size |
|---|---|
| Photographs | 300 DPI |
| Text as vector or embedded font | Not resolution-bound — it stays sharp at any size |
| Line art, logos, barcodes | 600–1200 DPI, or vector |
| A screenshot pasted into a layout | 96 DPI as captured: only usable at roughly a third of its pixel width |
| Anything only ever read on screen | 96–150 DPI is plenty |
Margins and the area the press cannot reach
Every printer has a non-printable border: the sheet has to be held while it is being printed, so the outermost few millimetres are unreachable. Most office laser printers cannot print within roughly 4–5 mm of the edge, many inkjets need about 3 mm, and a professional press needs trim marks and a 3 mm bleed instead. Anything you place inside that border is either clipped or forces the whole page to be scaled down by the driver.
- Keep text at least 8–10 mm from the trim edge of any page a person will read; 5 mm is the technical minimum, not a design decision.
- For an image or background that must reach the edge, extend it 3 mm past the trim line. That extension is the bleed, and it is what the guillotine cuts into.
- If your document has a 3 mm white border all round and you print it on a printer with a 5 mm non-printable area, the driver silently scales the page to 94 %. The result is not what you laid out.
The five-minute checklist
01Page size and orientation
Open document properties: every page should be the same size and the size should be the one you ordered. Mixed A4/Letter inside one file is the single most common cause of “it printed at 97 %”.
02Page count, blanks and order
Count the pages against the specification, and scroll through the thumbnails looking for an accidental blank page — photocopiers love producing one, and it shifts every later page by one in a duplex job.
03Fonts
In the document properties, look for “fonts” and confirm none of them says “not embedded”. If one does, export again from the source application with embedding switched on; there is no reliable way to embed a missing font afterwards.
04Images
Zoom to 100 % on the largest image on the page. If it is visibly soft at print size on screen, it will be soft on paper. This is where a pasted web logo shows itself.
05Margins and bleed
Use the viewer's ruler or a temporary guide: nothing important within 5 mm of the edge, and any full-bleed element either present with 3 mm of overhang or clearly meant to be printed with a white border.
When you cannot print a proof
- Print to PDF instead of to paper, then open the result and check its page size: if the virtual printer rescaled the page, the box size will have changed.
- Check the file in a viewer's “actual size” mode against a ruler on screen — a 210 mm wide page must measure 210 mm at 100 % zoom.
- Ask the shop which size, bleed and colour profile they want, in writing, before you export. The answer takes one message and saves the round trip.
None of this requires a prepress department. It requires ten minutes and the willingness to look at the numbers in the document properties rather than at the page on the screen, because the file that prints correctly is the one whose boxes, resolution and margins were checked — not the one that looked right on a monitor at 60 % zoom.